How to send a confirmation mail to your respondents
You can let your Tripetto form send automatic email messages to your respondents, for example for a confirmation mail or a thank you mail.

When to use
If you want to confirm the successful receipt and/or thank your respondents for their submission, you can send a confirmation mail to them. You can use the email address that the respondent has entered inside the form as the recipient. And you can totally determine the subject and content of the email.
📌 Also see: Send email block
In the article you're reading now we describe how to send a confirmation mail to your respondents. We use the send email block for that. For global instructions about the send email block, please have a look at this article:
📌 Also see: Email settings (WordPress only)
In the Tripetto WordPress plugin you can configure the sender name and sender address. More information:
📌 Also see: Email issues (WordPress only)
If you're experiencing mailing issues in the WordPress plugin, please have a look at this article for some troubleshooting:
How to use
You can send email confirmations with the send email block.
Add form blocks
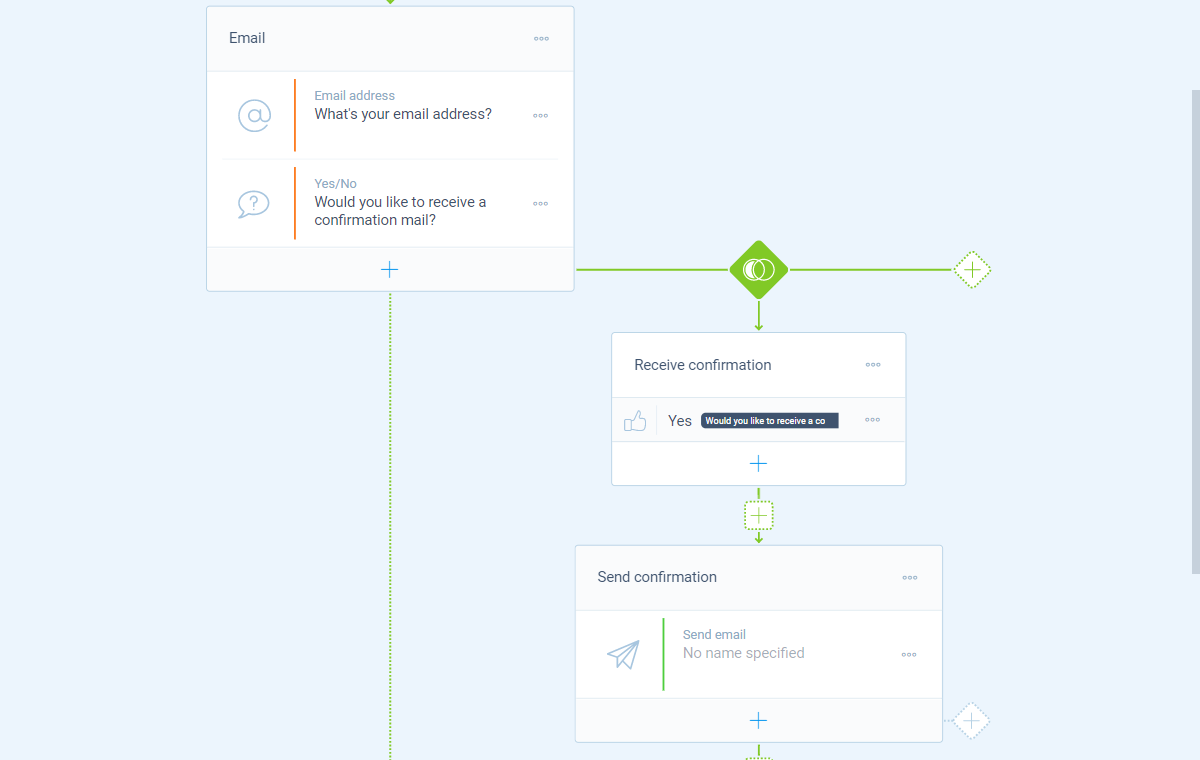
Start with adding a question block where your respondents can enter their email address, for example an email address block. We will use the given answers to this question as the recepient for the confirmation mail. Make sure this block is entered before the send email block.
Continue with adding a send email block in the right position in your form. You can also place send email blocks in branches, so they only will be sent when they meet your branch conditions. In this example we will only send a confirmation mail when the respondent opts in for that.
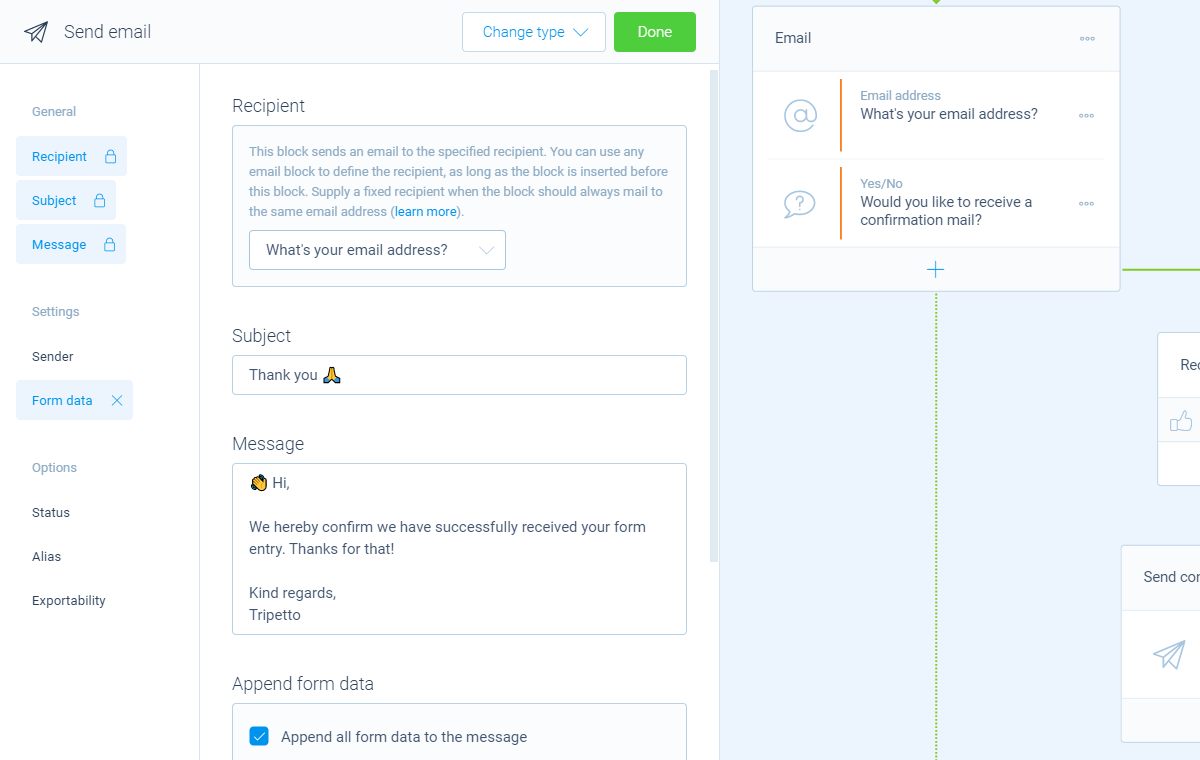
Select recipient
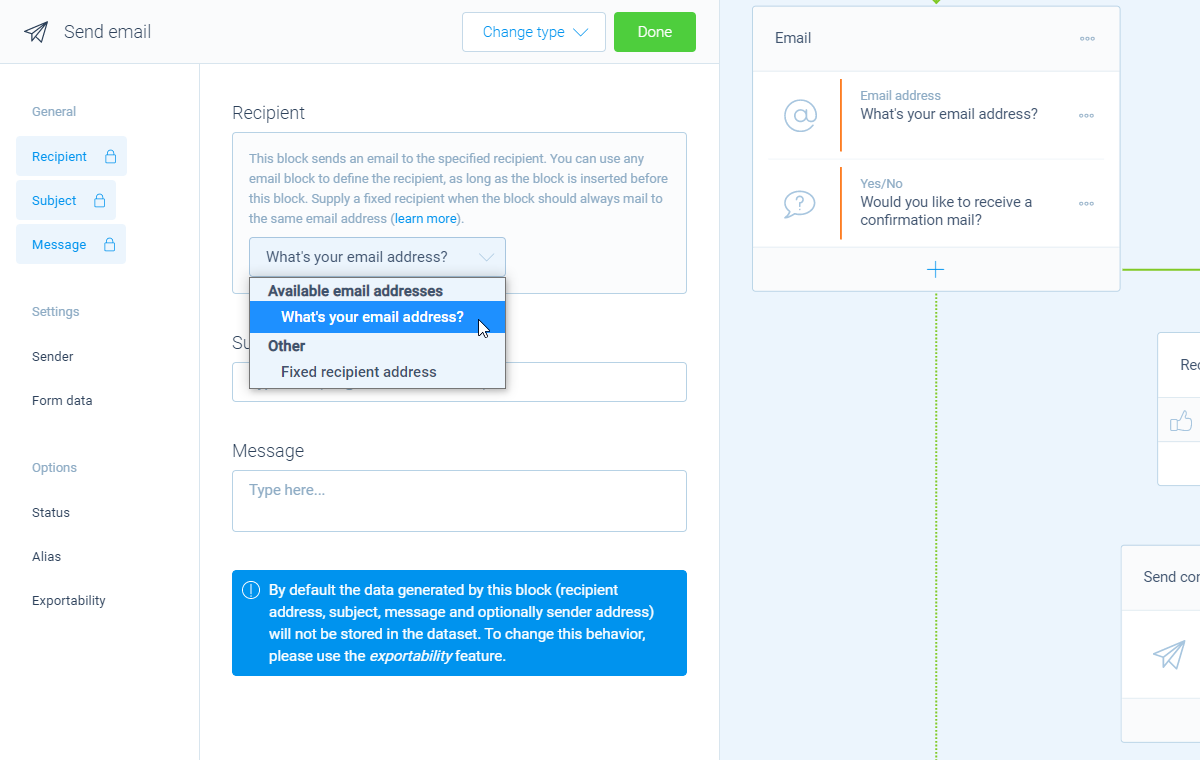
Now open the send email block. First thing you will see is the Recipient feature. That determines to whom the email message will be sent. Tripetto will list the question blocks that you can use as the recipient.
In this case we select the question from our form where we ask for the email address of the respondent. And that's it! The send email block will now use the email address that the respondent enters as the recipient.
Enter email message
Now you can enter the rest of the email message:
- Enter
Subject- The subject line of the email; - Enter
Message- The actual content of the email message; - Enable
Form data(optionally) - Option to include all form data.