How to automatically create Zendesk support tickets from form responses
Connect your Tripetto form to Zendesk to automatically create users and support tickets. For this example we use Make as our automation tool.

When to use
You can use this automation if you use a Tripetto form as a support form. It will automatically create support tickets in Zendesk based on the submitted form data.
What you need
The scenario we describe in this article is an example of connecting Tripetto to other services, in this case Zendesk. Click here for more general information about connecting Tripetto to other services.
For this scenario you need the following:
- Tripetto, to collect your form submissions;
- Make1, to connect your form data to other services;
- Zendesk, to store your support tickets.
🔖 Ad 1: Make alternatives
There are alternatives to use as your automation tool. In our example we use Make as our automation tool, but you can also use Zapier, Pabbly Connect or even a custom webhook. Of course it's up to you to use your favorite automation tool.
How to use
These are the steps to take to automate the process of creating support tickets in Zendesk.
Step 1 - Build Tripetto form
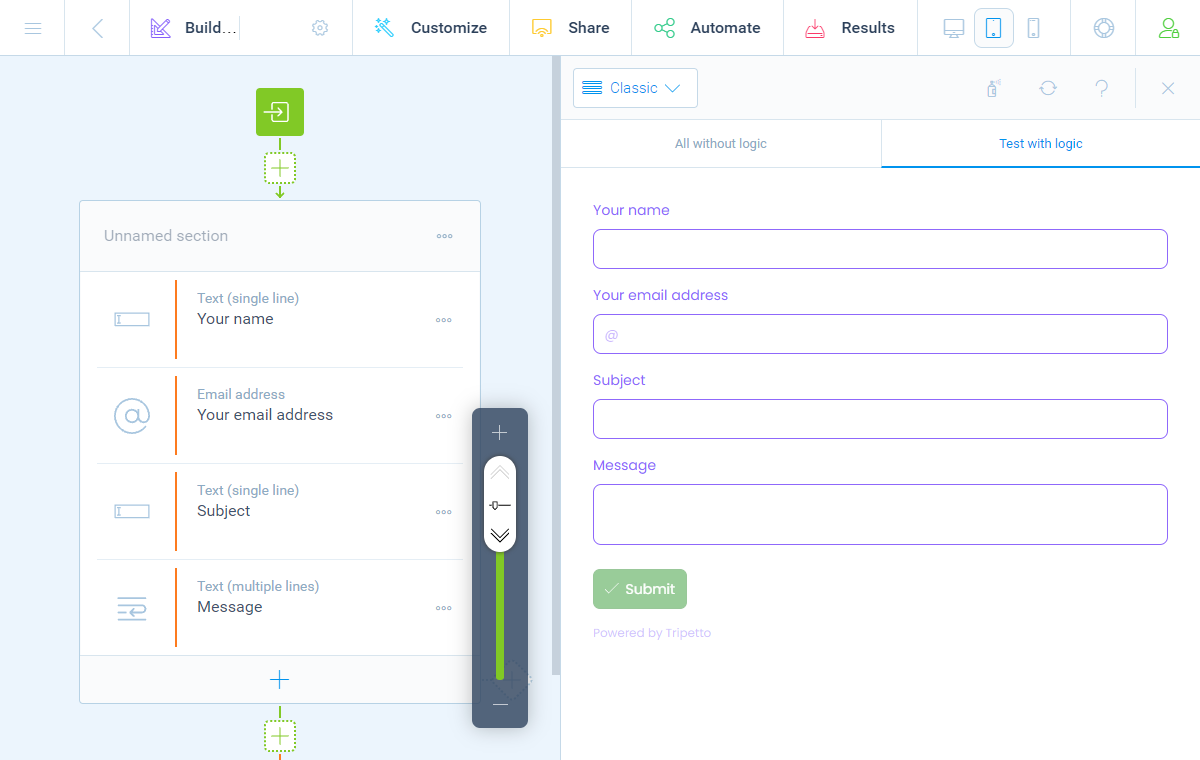
- First make sure your Tripetto form collects the desired data.
- Please make sure you at least ask for the client's name and email address. And collect the needed data for the support ticket, at least with a subject and a support message.
The result of this step is your Tripetto form, which you will use to collect your data from your respondents.
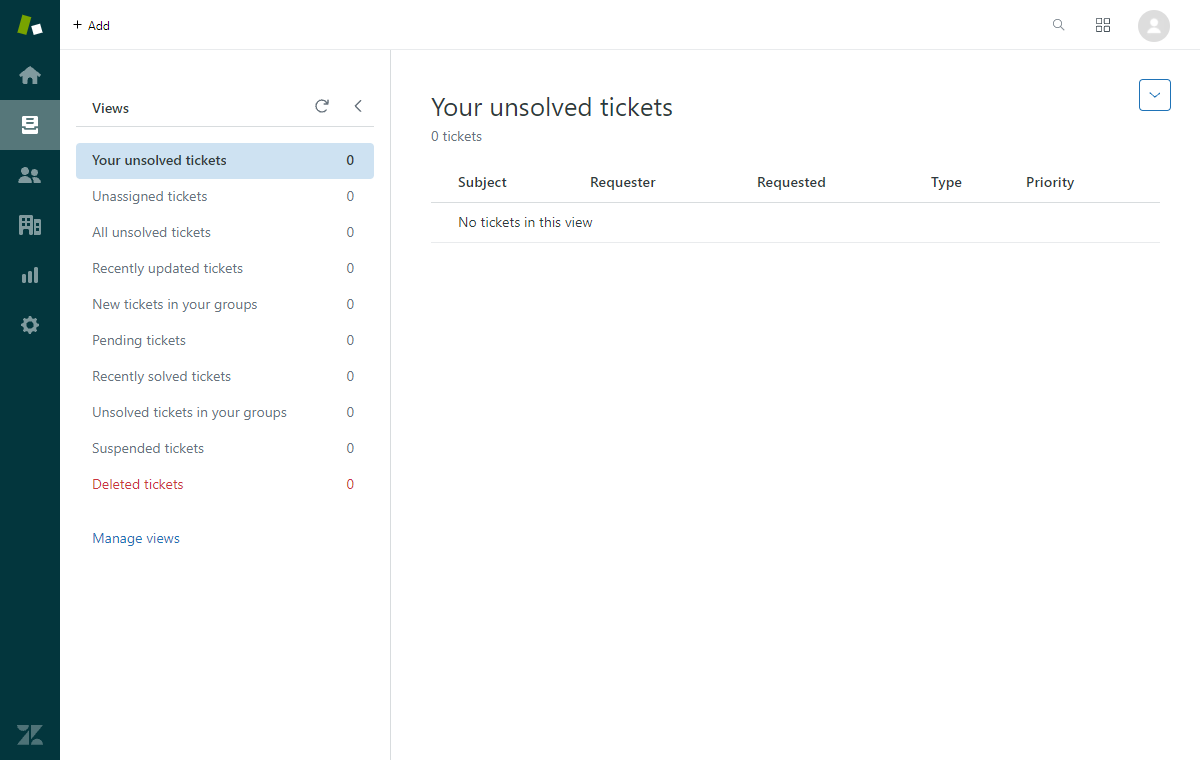
Step 2 - Prepare Zendesk
- If you already have an existing Zendesk setup you can skip this step.
- If you don't have configured Zendesk yet, create an account and configure it for your purpose.
The result of this step is your Zendesk ticket system, that we will use later on in the process.
Step 3 - Connect Tripetto to Make
- In your Make account add a new scenario.
- Give your scenario a name, for example
Create support ticket for new Tripetto submission. - Add a
Tripettomodule to your Make scenario. As trigger selectWatch Responses. - Connect your Tripetto form to that trigger, by copy-pasting the webhook URL from Make into your Tripetto form (navigate to
AutomateConnectionsMake). Have a look at this article for the detailed description how to connect Tripetto to Make. - Test the connection, so Make receives the structure of your dataset.
The result of this step is that your Make scenario gets executed for each new form submission and you can use the data fields from your Tripetto form in the Make scenario.

Step 4 - Add user to Zendesk
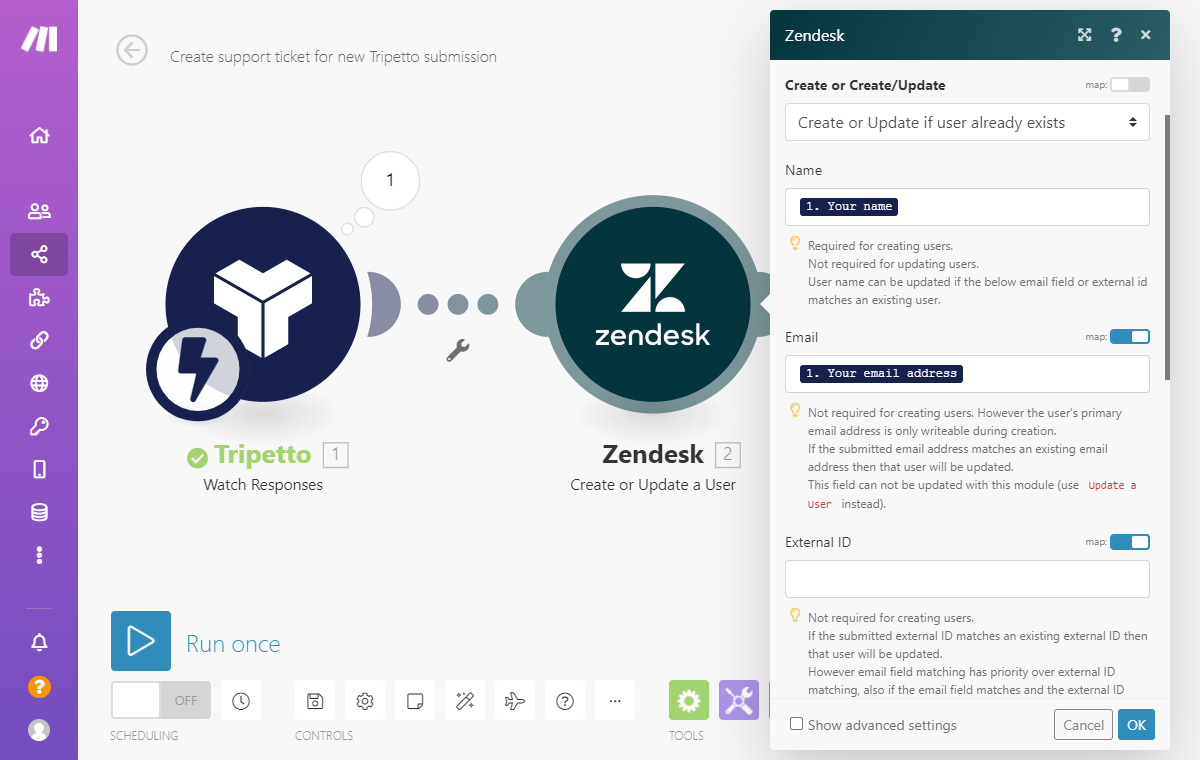
- Add a
Zendeskmodule to your Make scenario. As action selectCreate or Update a User. - Grant access to your Zendesk account.
- Make will now show the data fields to create a user in Zendesk. For each field you can now select the corresponding data field from your Tripetto form. This is the part where you map the entered user data from your Tripetto form to the fields in your Zendesk user. Most important fields are
NameandEmail.
The result of this step is you now have automated creating a user in Zendesk.
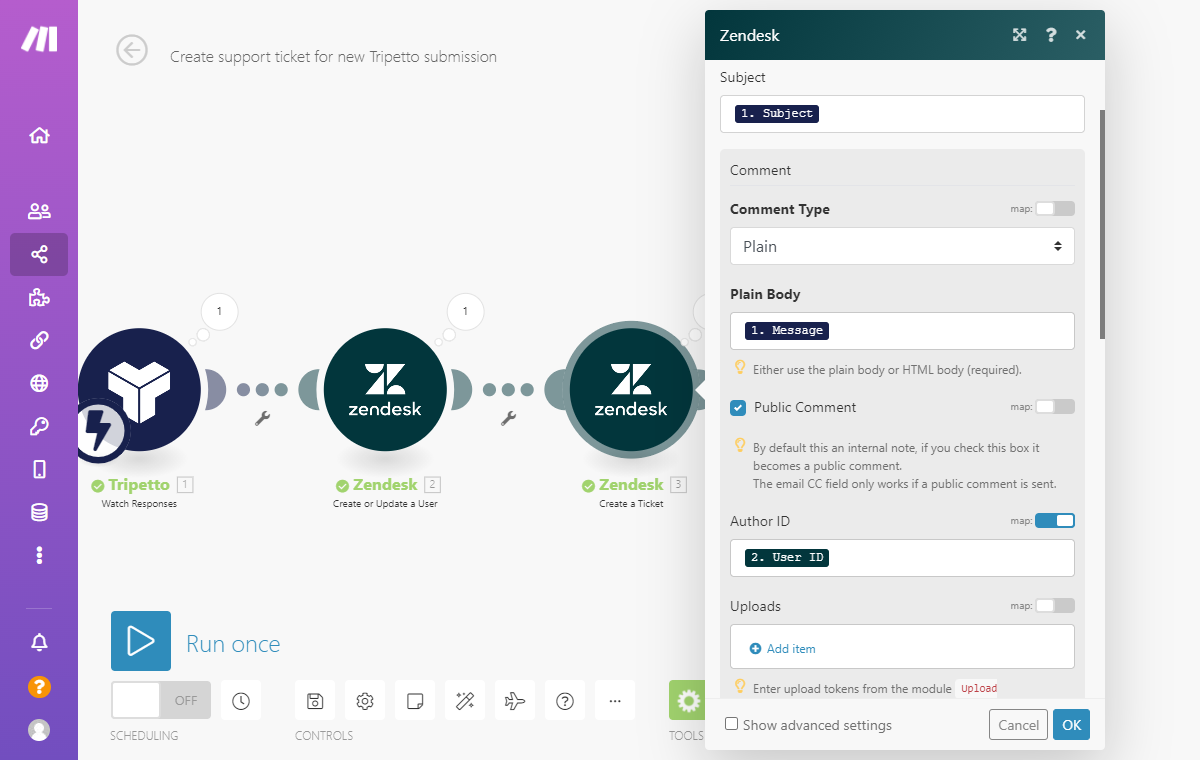
Step 5 - Create ticket in Zendesk
- Add another
Zendeskmodule to your Make scenario. As action selectCreate a Ticket. - Make will now show the data fields to create a ticket in Zendesk. For each field you can now select the corresponding data field from your Tripetto form. This is the part where you map the entered support request data from your Tripetto form to the fields in your Zendesk ticket. Most important fields are
SubjectandBody. - Determine if you want to add this message as a
Public commentor as an internal note. - To attach the previously created Zendesk user to this ticket, insert the
User IDfrom the previous Zendesk module into the ticket fieldsAuthor IDandRequester ID.
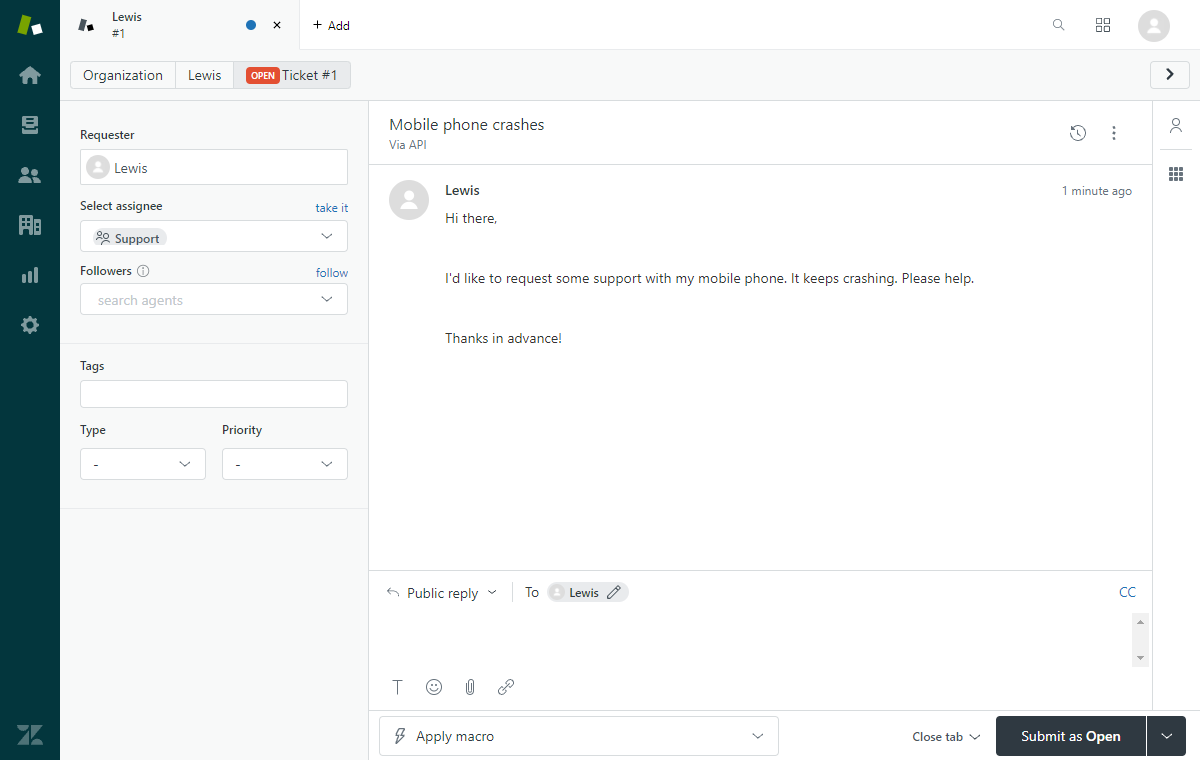
The result of this step is you now have automated creating a ticket in Zendesk for the selected Zendesk user.
Step 6 - Test and activate
- Click
Run oncein Make to start testing your automation. - Fill out and submit your Tripetto form once.
- Check if your Make scenario has been processed correctly. If so, check Zendesk if the new ticket is created and the user is attached to that ticket.
- Activate your scenario in Make.
From now on this scenario will be executed automatically for each new form submission! Every new submission will now automatically create a new user and a new support ticket in Zendesk 🎉
Other examples
Tripetto lets you connect to 1.000+ services. We have made some step-by-step examples for often used scenarios: