How to embed your form in your WordPress site using the Elementor widget
If you use the Elementor builder in WordPress, you can embed your Tripetto forms inside your WordPress site using Tripetto's Elementor widget.

When to use
By embedding your form in your site you can place your form inside your site's content. If you use the popular Elementor page builder, Tripetto's Elementor widget is the easiest way to achieve this. All data will be stored inside your own WordPress instance.
📌 Also see: Tripetto's other embed options
We offer several ways to embed your forms in your WordPress site. It largely depends on the WordPress builder you use which method is best and easiest for you:
About Elementor
Elementor is the leading WordPress website builder to design and build everything you need for your website. You can read all about it at elementor.com.
After you have installed the Tripetto WordPress plugin, Tripetto is available as an Elementor widget inside the Elementor builder to easily embed Tripetto forms in your content. You can use Tripetto forms in Elementor pages, but also inside Elementor popups.
How to use
At the left side of your Elementor builder you can search for the Tripetto Form widget. You can drag and drop it into the place where you want to show the form. You can use the Tripetto Form widget in Elementor pages, but also inside Elementor popups.
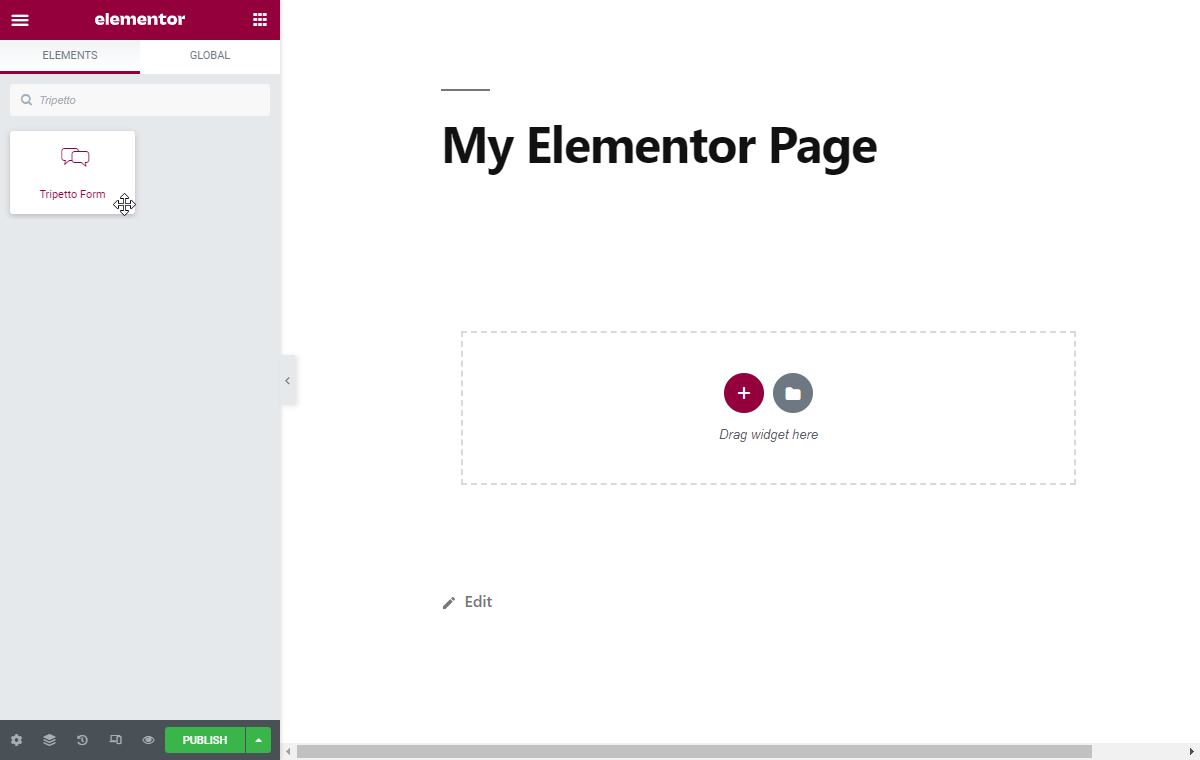
This will add a new Tripetto widget to your Elementor builder. At the left side you can now simply select the Tripetto form that you want to show. After you have selected the desired form, it will be added to your content and you will see a live preview of the form right away. That's it!

Options
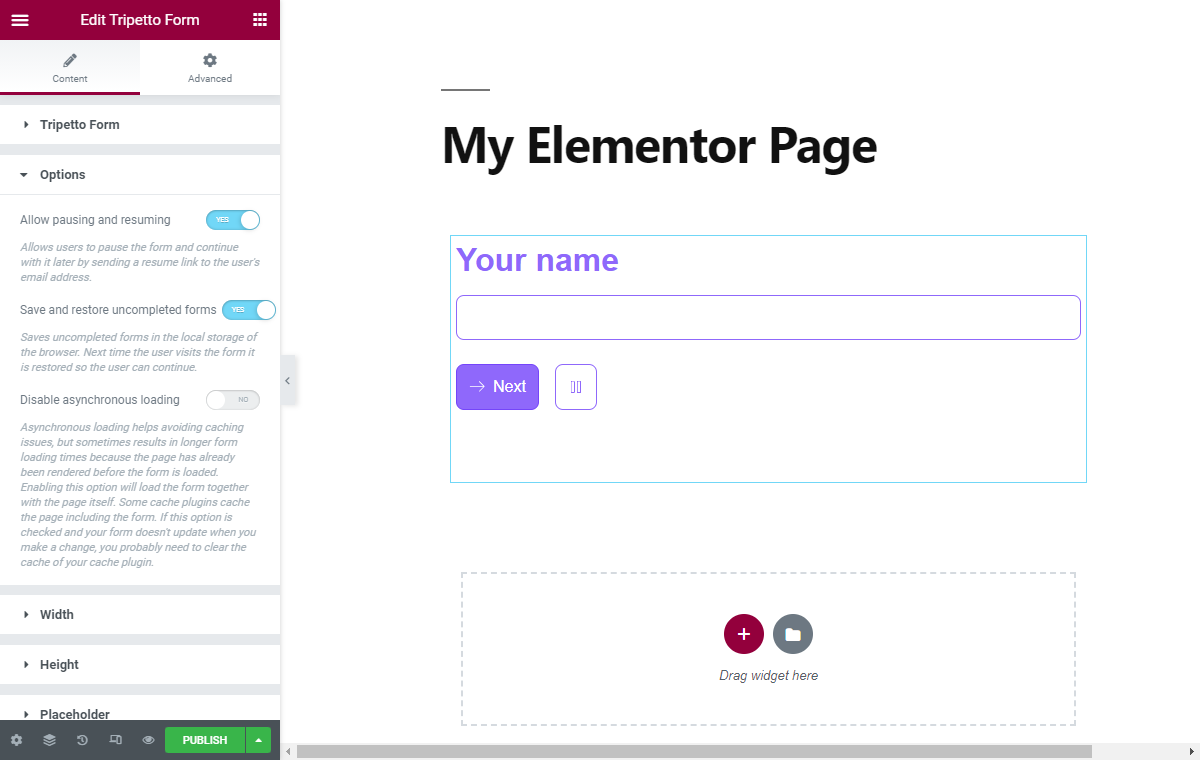
At the left side of the Elementor builder you can configure the implementation of the form into your WordPress site. You can just toggle the desired options and the Tripetto form will update automatically.
The following options are available:
Allow pausing and resuming
Setting to determine if the form can be paused and resumed by your respondents.Save and restore uncompleted forms
Setting to determine if data persists in the browser if a user enters the form later on again.Disable asynchronous loading
Option to disable asynchronous loading of your form to enhance the form loading time (please be aware that caching plugins may have effect on your Tripetto forms if you use this option).Width
Setting to set the width of form container.Height
Setting to set the height of form container.Placeholder
Option to show a message that is shown while the form is loading. You can specify text or HTML.Custom CSS
Option to add custom CSS to parts of your form (see instructions).
Responsiveness
Tripetto forms are of course designed to work properly on all screen sizes. This is called 'responsiveness'.
If you embed a Tripetto form in your own page, the responsiveness of the form will depend on the responsiveness settings of your own page. In most cases that is controlled by the viewport settings in the head section of your website. We advise to configure that like this:
<meta name="viewport" content="width=device-width, initial-scale=1.0, maximum-scale=1.0">Data storage
Both the form and collected data are always hosted and stored in your own WordPress instance. Not a single connection related to Tripetto is ever made with an external host other than yours. It's all in your own instance, under your control.