
How to Add a Contact Form To A WordPress Widget - A Step-by-Step Guide
If you want users to contact you, your forms need to be accessible. This post will show you how to add a contact form to a widget in WordPress!

To run a successful website, you’ll need to make sure that your visitors and users can get in touch with you. Not only that, but the process should be accessible and easy to carry out. If you add a contact form to a widget in WordPress, you have a flexible way for those who require it to get in touch.
In fact, adding a form is a fantastic general-purpose way of increasing your engagement, and encouraging greater interaction. A form can work as a lead generator, a way to gain feedback, and even as a troubleshooting tool. However, you must make them simple to complete, and as visible as possible. A WordPress widget can go almost anywhere on your site, so it’s a good fit for a contact form.
In this tutorial, we’re going to show you how to add a contact form to a widget in WordPress. Before that, let’s talk about why you’d want to use forms across your site, and some form builder plugins you’ll want to look into.
Why You Should Add a Contact Form to a Widget in WordPress
Forms of all types have lots of value to almost any website. They are a great way to collect information from your website’s visitors and users, and you can use a form for a number of purposes:
- Lead generation. The information you gather through a form is something you can use for further marketing. You can provide further information on new products, updates, events, and more.
- Customer feedback. Contact forms, surveys, and questionnaires are all superb ways to solicit feedback from customers. This gives you a way to improve what you offer and bring in more money.
- Support and troubleshooting. A contact form is a simple way for a customer to get help on their purchases. Because of the medium, you can converse fast to resolve any issues that arise.
If you choose to add a contact form to a widget in WordPress, you’ll have an excellent way to make your form as visible as possible, which can increase your completion rates too. However, you’ll need the right plugin solution to help you.
3 Plugins You Can Use to Add a Contact Form to a Widget in WordPress
Even if you take a cursory look at the form builder plugin landscape, you’ll find a lot of options at your disposal. However, it can be difficult to find the right option for your needs. Not all plugins offer the same level of flexibility, customization, and accessible interface.
In the next few sections, we’ll look at three different form builder plugins you’ll want to learn about, starting with our pick for the best WordPress contact form plugin.
1. Tripetto
Tripetto is an all-in-one form builder plugin for WordPress that lets you create smart, conversational forms. You can create custom contact forms, surveys, quizzes, and much more without the need for HTML, CSS, PHP, JavaScript, or any other code.
What’s more, the plugin comes with a mountain of features and functionalities:
- Tripetto uses a drag-and-drop form builder to create your forms, with a live preview that lets you test out your logic and see how the form will look on the front end. You’re able to set up a form in minutes.
- You can use Tripetto’s conditional logic to guide the respondent through the form, and react to previous answers. We’ll talk more about this later.
- There are extensive customization options within Tripetto, including unique ‘form faces’. This is a way to present your form in a more user-friendly format without altering its functionality under the hood.
- Tripetto gives you numerous ways to display your forms. You can use a dedicated link, a shortcode, a Block Editor Block, or an Elementor widget.
- There are lots of ways to automate your forms, for example to send emails or notifications. You can use webhooks and a dedicated automation app (Zapier, Make, or Pabbly Connect) to connect thousands of other third-party services to Tripetto, such as Google Sheets, Mailchimp, and much more. It takes minutes to set up, at most.
Tripetto also offers competitive pricing that includes all of its features within the pro version, regardless of the tier you choose. A single-site license is $99 per year, but you also have a 14-day money-back guarantee.
2. WPForms
Much like Tripetto, WPForms offers a whole gamut of functionality in order to create lots of form types. It includes what we feel is essential functionality for any business:
- Built-in form templates, and a drag-and-drop builder.
- The support for multi-page forms.
- Conditional logic options to help create smart forms.
- Connection to third-party services using webhooks.
However, unlike Tripetto, much of this functionality is locked behind pricey premium plugin tiers. For example, the ability to create surveys, conversational forms, and third-party connection is only available to WpForms Pro ($399 per year) or Elite ($599 per year) subscribers.
3. Gravity Forms
Lots of users like Gravity Forms, as it comes with lots of scope to create almost any form you need for your site. It gets lots of love from users, in part due to its stellar set of features and functionality:
- There are over 30 different form fields at your disposal, and styling for each.
- You have support for multi-page forms and pagination.
- Gravity Forms also includes conditional logic capabilities.
- You’re able to capture data from incomplete forms too, which gives you the opportunity to bring the user back to complete it at a later date.
Despite the positives, the price tag is a big negative with Gravity Forms. While the Basic license is $59 per year, this comes with limited functionality. To get a comparable experience to Tripetto, you’ll need to opt for the Elite license, at $259 per year.
How to Add a Contact Form to a Widget in WordPress Using Tripetto
Over the rest of this article, we’re going to run through the steps you need to take to add a contact form to a widget in WordPress. We’re going to do this using Tripetto. By the end, you’ll be able to see why it gets love from hundreds of satisfied users.
1. Install and Activate the Tripetto Plugin
Your first step is to install and activate the plugin, which should be straightforward regardless of whether you have the experience.
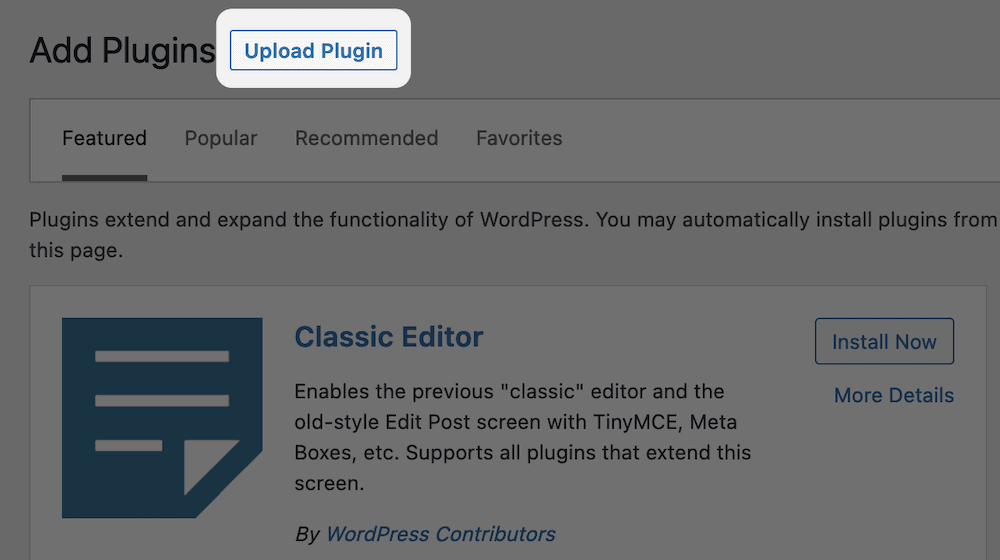
Once you purchase a license, you’ll have a ZIP file on your computer. From the WordPress dashboard, head to the Plugins > Add New screen, and click the Upload Plugin link at the top of the screen:
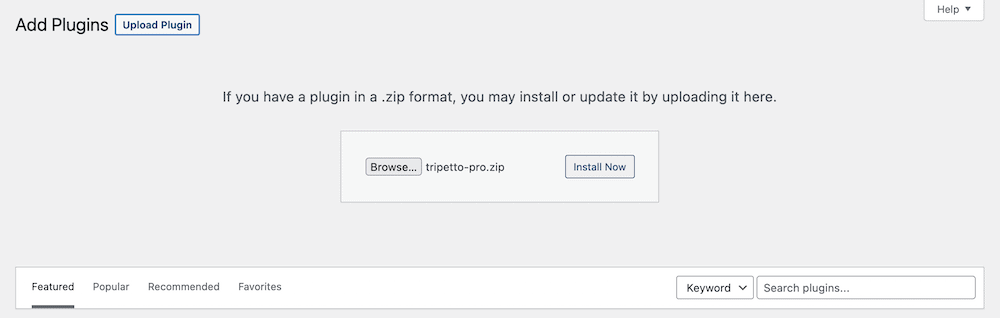
This will load an uploader dialog, for which you’ll need to find the ZIP file on your computer, then click the Install Now button:
From here, WordPress will ask you to activate the plugin. At this point, you can begin to use Tripetto.
2. Choose a Template, Pick a Form Face, and Design Your Contact Form
On the first use, Tripetto will run you through the Onboarding Wizard:
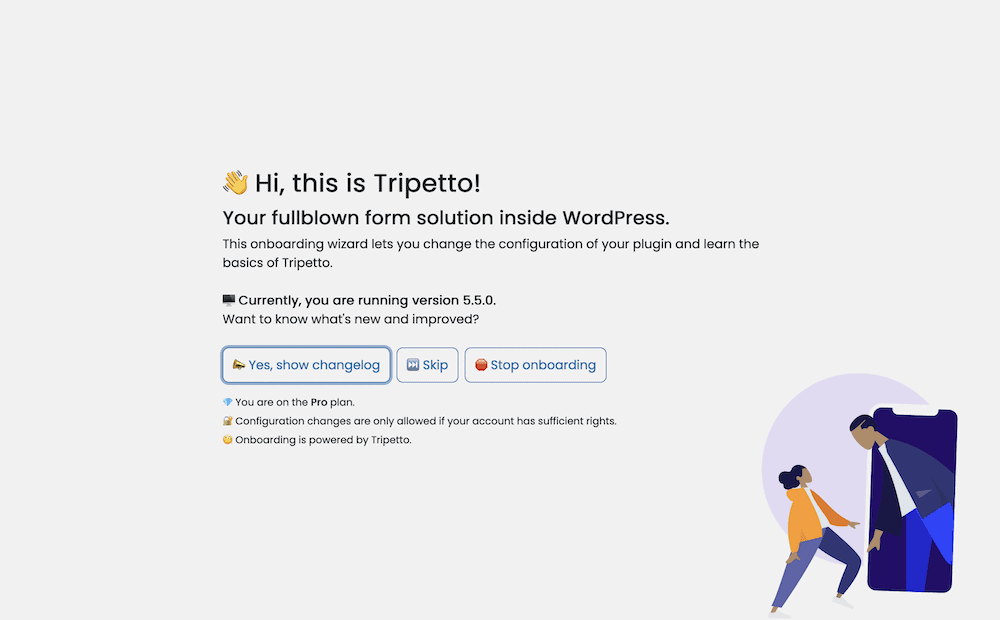
This will help you set the plugin up for your needs, at which point you can begin to design your contact form. The Tripetto dashboard gives you two options: choose a form face or a template to start.
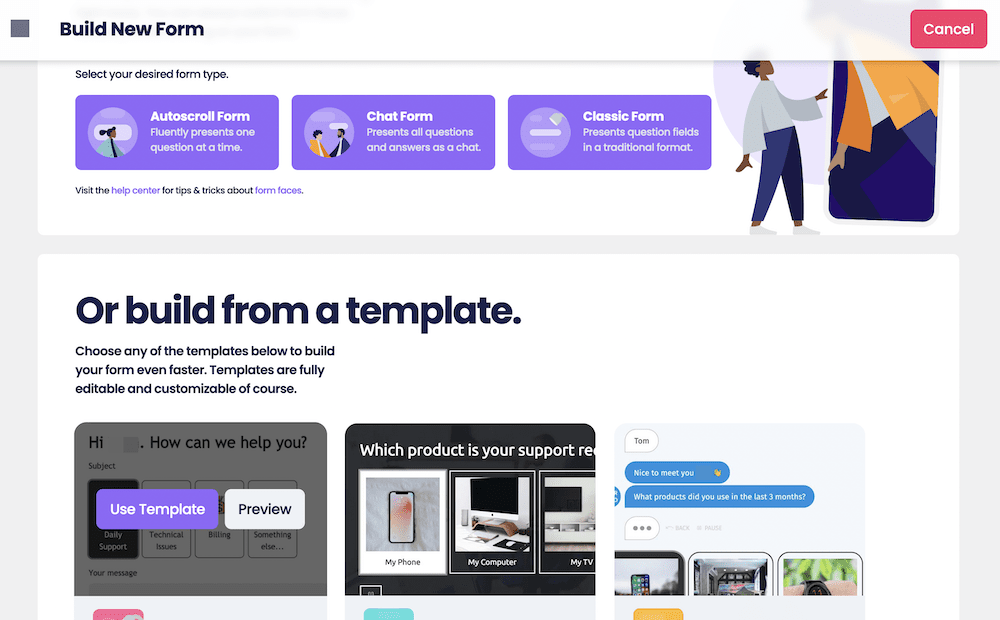
We’d opt for a template at first, as it will build in all of the necessary functionality, customizations, and logic you need. You’ll be able to select a new form face at any time using the drop-down menu within the Tripetto live preview toolbar:
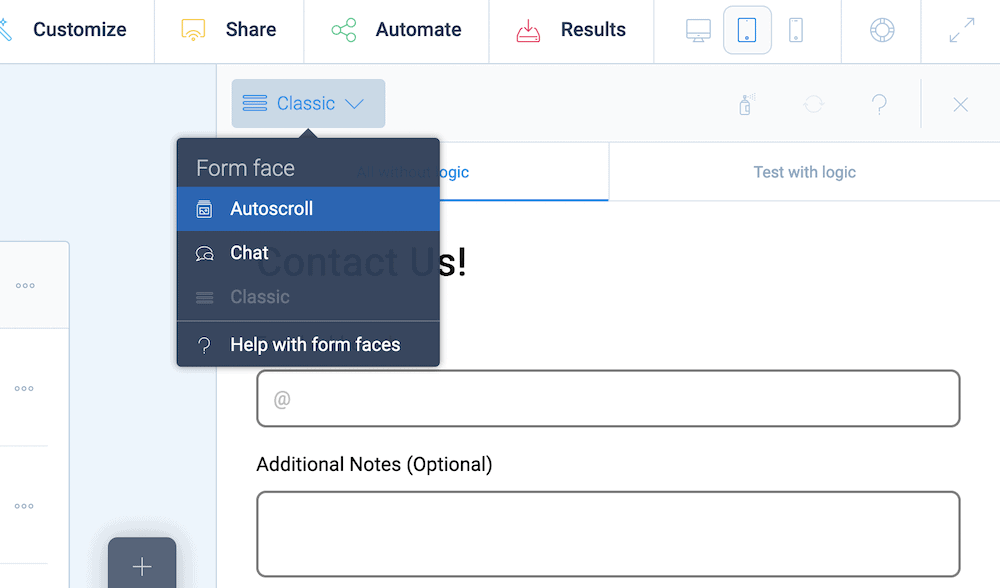
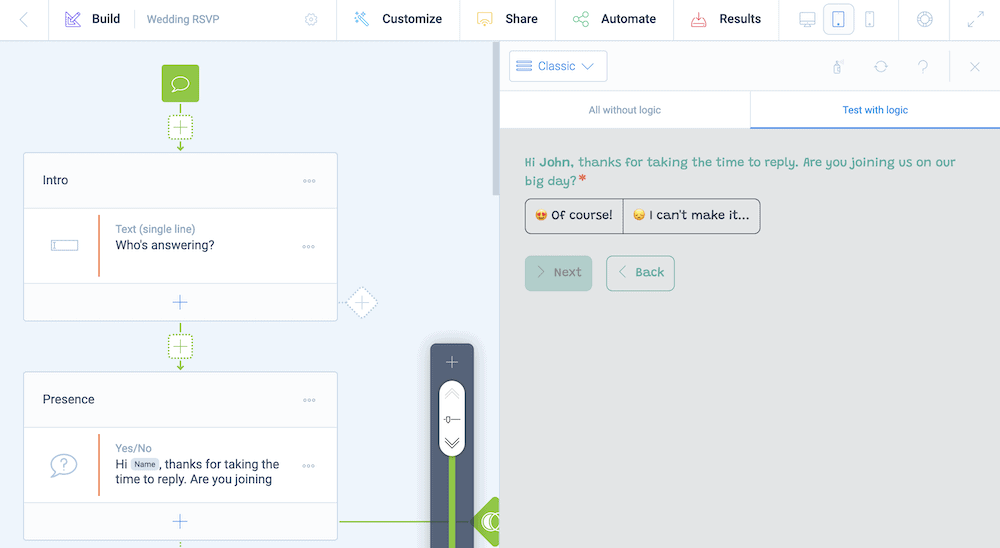
Most simple contact forms benefit from the Classic form face, because it presents the fields in a single display. However, if you choose to offer more fields, or want to focus on each question as given, the Autoscroll form face would offer value:

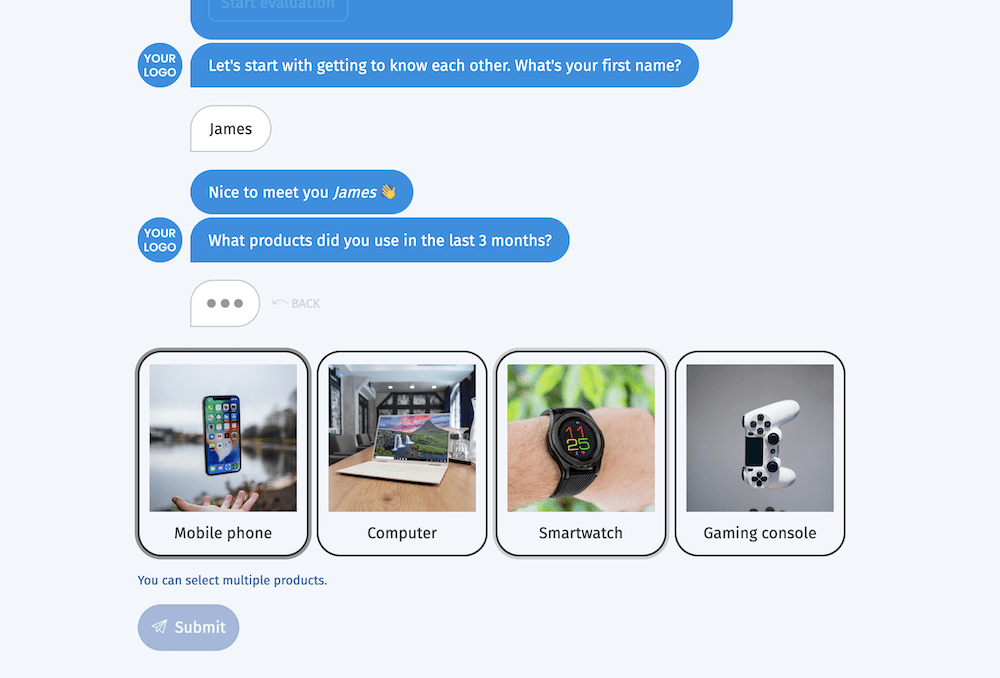
However, if you have to obtain a lot of information from the respondent, and you need it to be of the highest quality and relevance, the chat form face will be ideal. This lets you present your fields in a ‘Question and Answer’ format, and it offers a more engaging experience to website visitors, making them more likely to complete their form submissions.
Regardless, you’ll next want to customize the form to suit your needs, especially its overall look. Let’s discuss this next.
Customizing Your Form
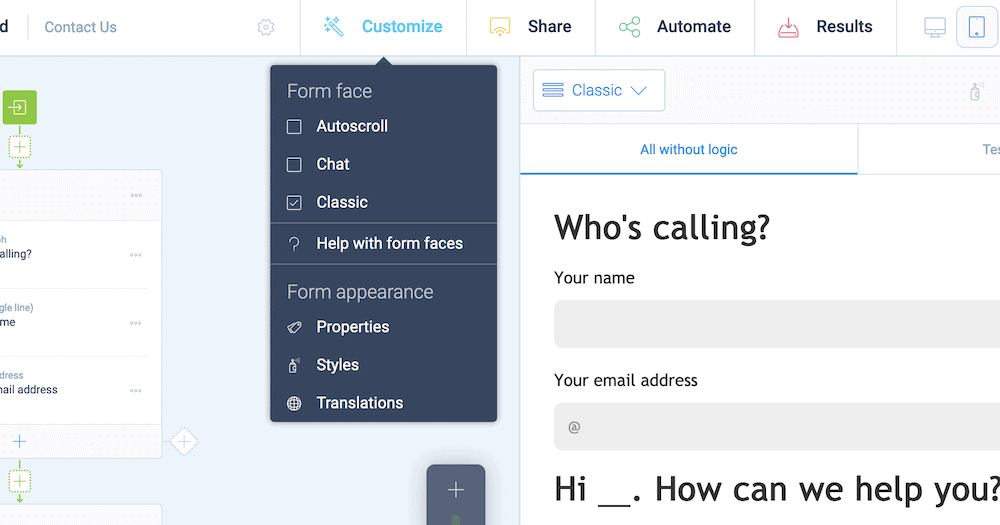
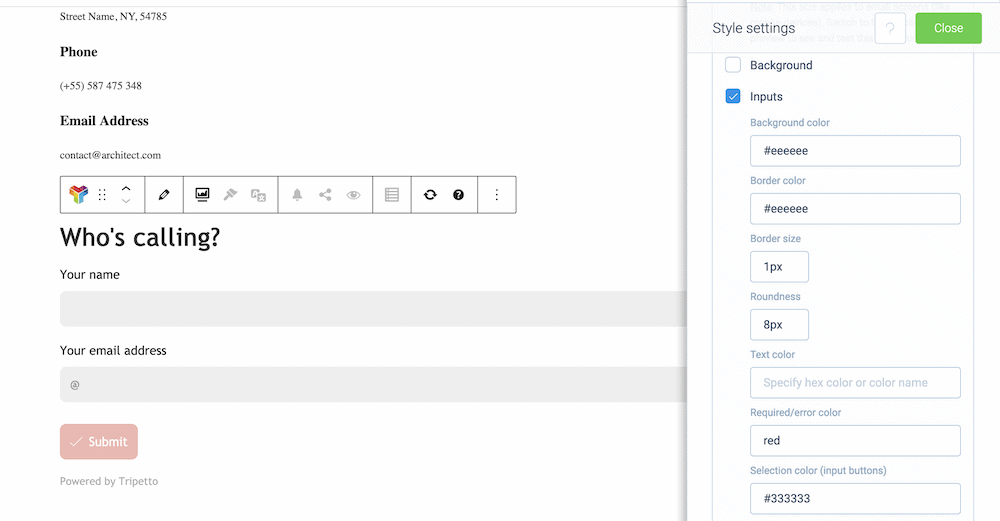
Tripetto offers a wealth of customization options for almost every aspect of your contact form. You can access global form settings from the Customize dropdown menu:
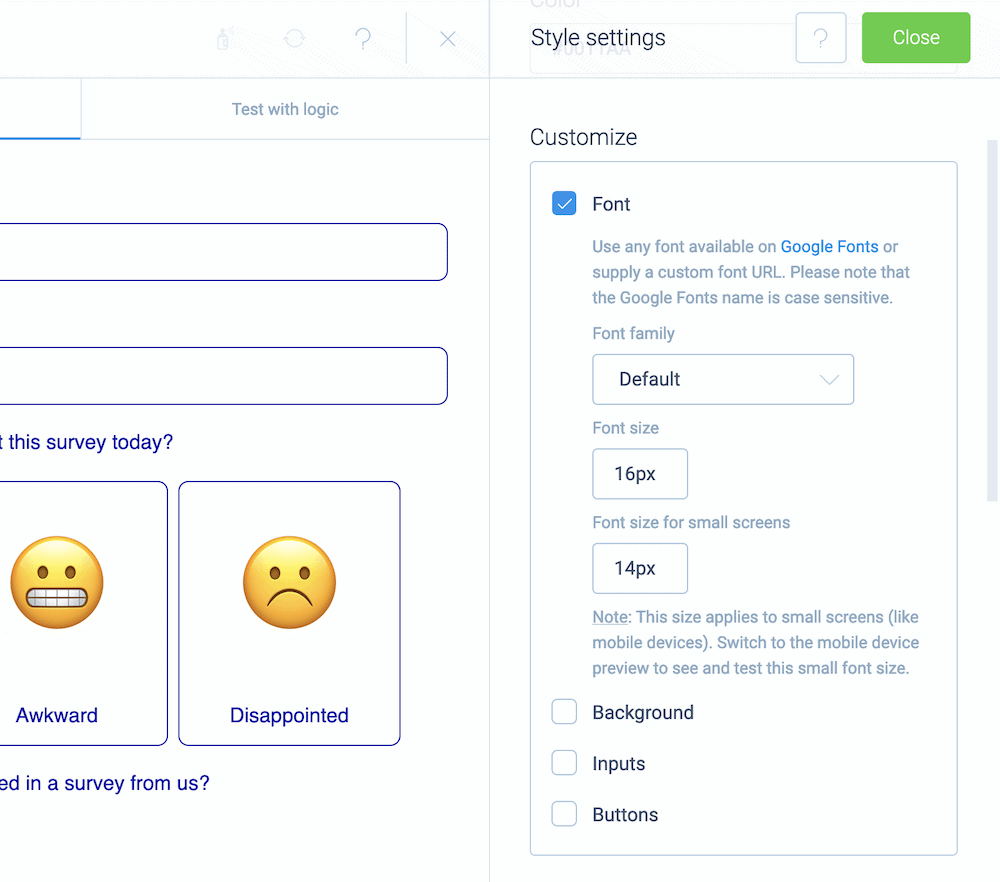
The Form appearance > Styles menu will open on the right-hand side of the screen, and give you a way to configure the overall color scheme and font choices within your form:
However, a contact form will need to be ‘smart’ in order to succeed beyond its visuals. This is where conditional logic comes into play.
Adding Conditional Logic to Your Form
If you want to create a smart and conversational form that engages your users, you’ll want to use conditional logic. This gives you a way to present relevant questions to the respondent that adapts to their input.
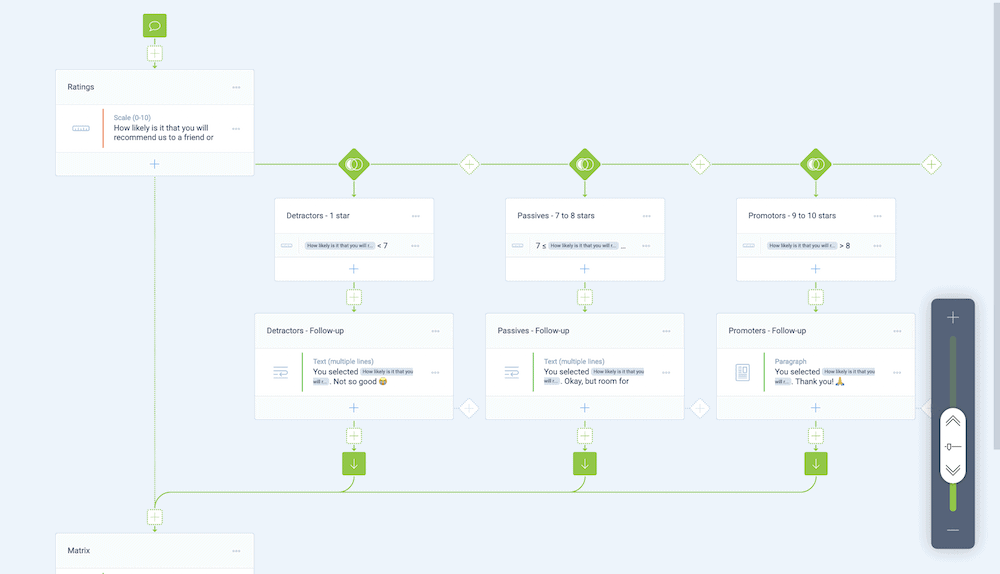
Tripetto offers a few different ways to add logic to your contact forms. A straightforward example is through piping logic. This uses previous answers to populate later sections of your form. For instance, a user could enter their name, which you reference elsewhere:
Skip logic and branch logic are also popular ways to structure your forms, because you can send a user along different, yet relevant paths related to their answers. In Tripetto, you can add this through the green Plus icons within the storyboard:
However, there are lots of other ways to add logic into your forms that might not impact the user in a direct way. Here are just two:
- For example, you can set up email notifications that only trigger based on a certain user action.
- If you combine Tripetto’s advanced calculator with other functionality, you have a way to further guide the user. For instance, you could tally up scores or values for some fields and use that to adjust how the form displays.
On the whole, Tripetto’s conditional logic functionality is one of its most powerful elements, so you’ll want to harness this regardless of the type of form you wish to create.
Integrating Third-Party Services Into Your Form
Tripetto looks to include almost everything you need to create, display, and manage your forms. However, you might also have the need to connect to third-party services, such as email marketing platforms like Mailchimp, Google Sheets, your favorite Customer Relationship Manager (CRM), and much more.

You’re able to do this from the Automate > Connection screen within Tripetto:
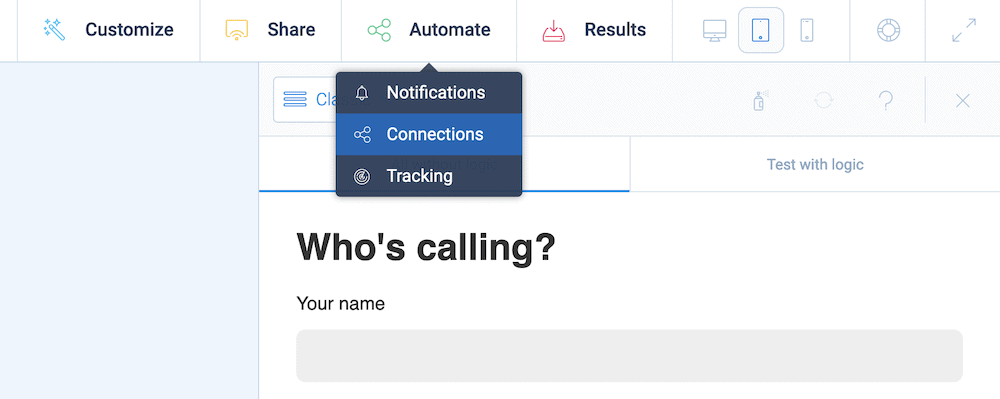
In most cases, you’ll need to use a dedicated automation service – Tripetto supports Make, Pabbly Connect, and Zapier. These options only need a webhook URL from your chosen platform, and this will let you connect to the desired service.
There’s also the option to add custom webhook connections to Tripetto. It’s a developer-level piece of functionality, but it means Tripetto’s scope is as wide as your imagination and vision.
3. Add Your Contact Form to a Widget in WordPress
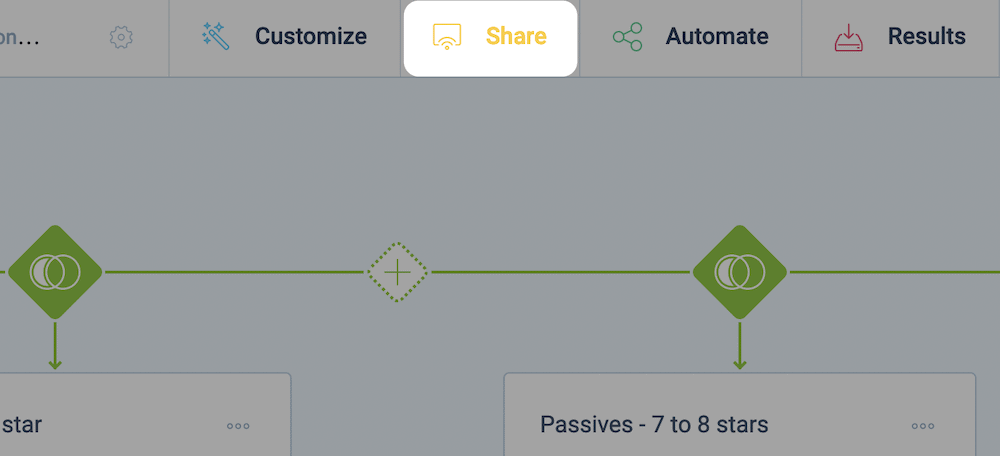
Once you have a contact form that you like the look of and offers the right level of functionality, you’ll want to display it on your WordPress website. Tripetto offers a lot of ways to do this, and the shortcode offers a flexible and simple approach. You’ll find these options under the Share tab on the Tripetto dashboard:
While you can share a direct link to your form, the shortcode option gives you the best way to display your contact form.
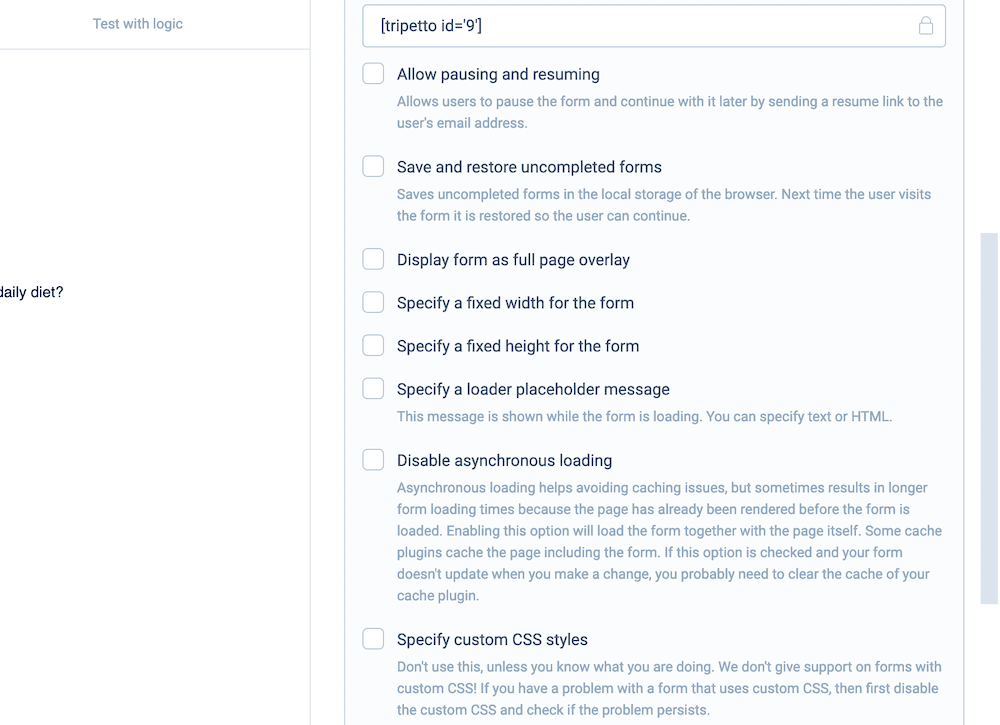
It lets you set a number of ‘parameters’ through checkboxes that you don't need technical knowledge to implement. For example, you can offer the option for users to pause the form and complete it later. As an alternative, you could also give users a way to save forms for future completion.
However, there are also lots of ways to streamline the look of your form too. You have options to set the form as a full-page overlay, and specify a fixed width and height. There are also some advanced parameters too, such as the ability to disable asynchronous loading (which could improve performance) and specify custom CSS styles.
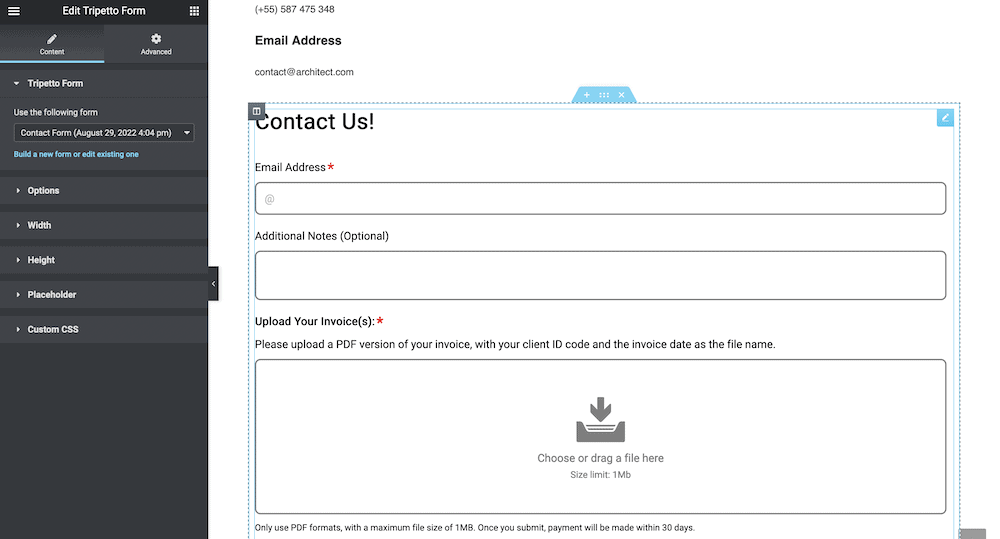
While the shortcode works well regardless of the editor you choose, Tripetto supports certain specific page builders and full-site editors too. For instance, you have a dedicated Block for the native WordPress Block Editor:
Once you choose your form from the drop-down list, you can work with most of the Tripetto options from the Block Editor. For instance, you can choose your form face or styling options from the contextual toolbar, and these will display in the right-hand sidebar:
In fact, you also have the opportunity to alter the structure of your form from within the Block Editor. This will be handy if you need to make a quick change, without the need to head into the Tripetto plugin itself.
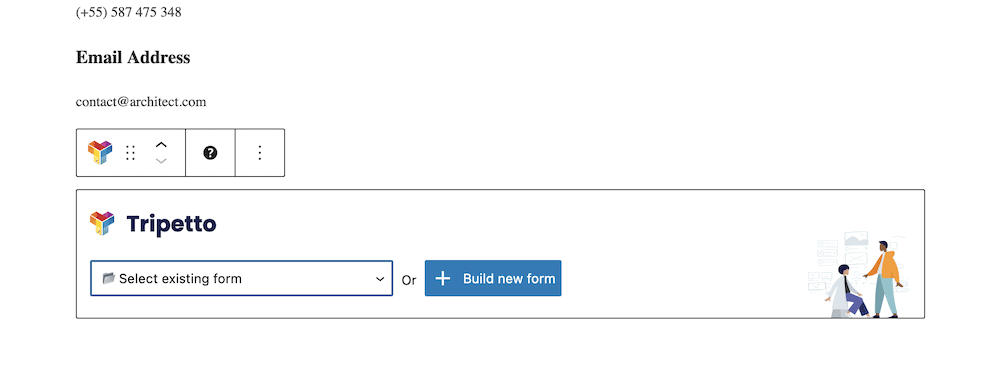
Elementor users also have a dedicated widget for that page builder too. Once you add the Tripetto Form widget and choose your form, you can work with it in a similar way to other elements on your page:
You’ll find similar settings to the shortcode within the left-hand sidebar, and you also get to leverage Elementor’s styling options also. You can even use the Tripetto Form widget to embed your forms into Elementor popups. Tripetto gives you the ultimate flexibility, regardless of your setup.
Make your forms more visible using a WordPress widget
There’s almost no better way to gather customer feedback, solve queries, or generate leads than a contact form. You have immense flexibility through forms, and if you use a widget in WordPress to display them, a highly-visible element too. With a quality and engaging contact form on your WordPress site, your completion rates will thank you.
If you want the most ideal way to add a contact form to your site, Tripetto can offer what you’re looking for. It lets you create flexible, conversational, smart forms that benefit the UX of your site. You can add conditional logic to help you capture only the most relevant data from your users, and to keep your forms efficient. Even better, you can integrate thousands of third-party services using webhooks. With the dedicated shortcode, native Block, or Elementor widget, you have plenty of ways to showcase your form too.
Tripetto gives you the full feature set of the plugin regardless of how much you pay. A single-site license begins from $99 per year, and comes with a 14-day money-back guarantee.